

Syntopia BOX Guide

A great AI host still needs somewhere to stand. This tutorial shows you how to set up backgrounds and scenes for an AI live stream in Syntopia BOX — choosing between a virtual backdrop and a real-scene set, matching the look to what you sell, lighting the avatar so it belongs in the shot, and layering on the overlays that turn a plain feed into a shoppable stream.
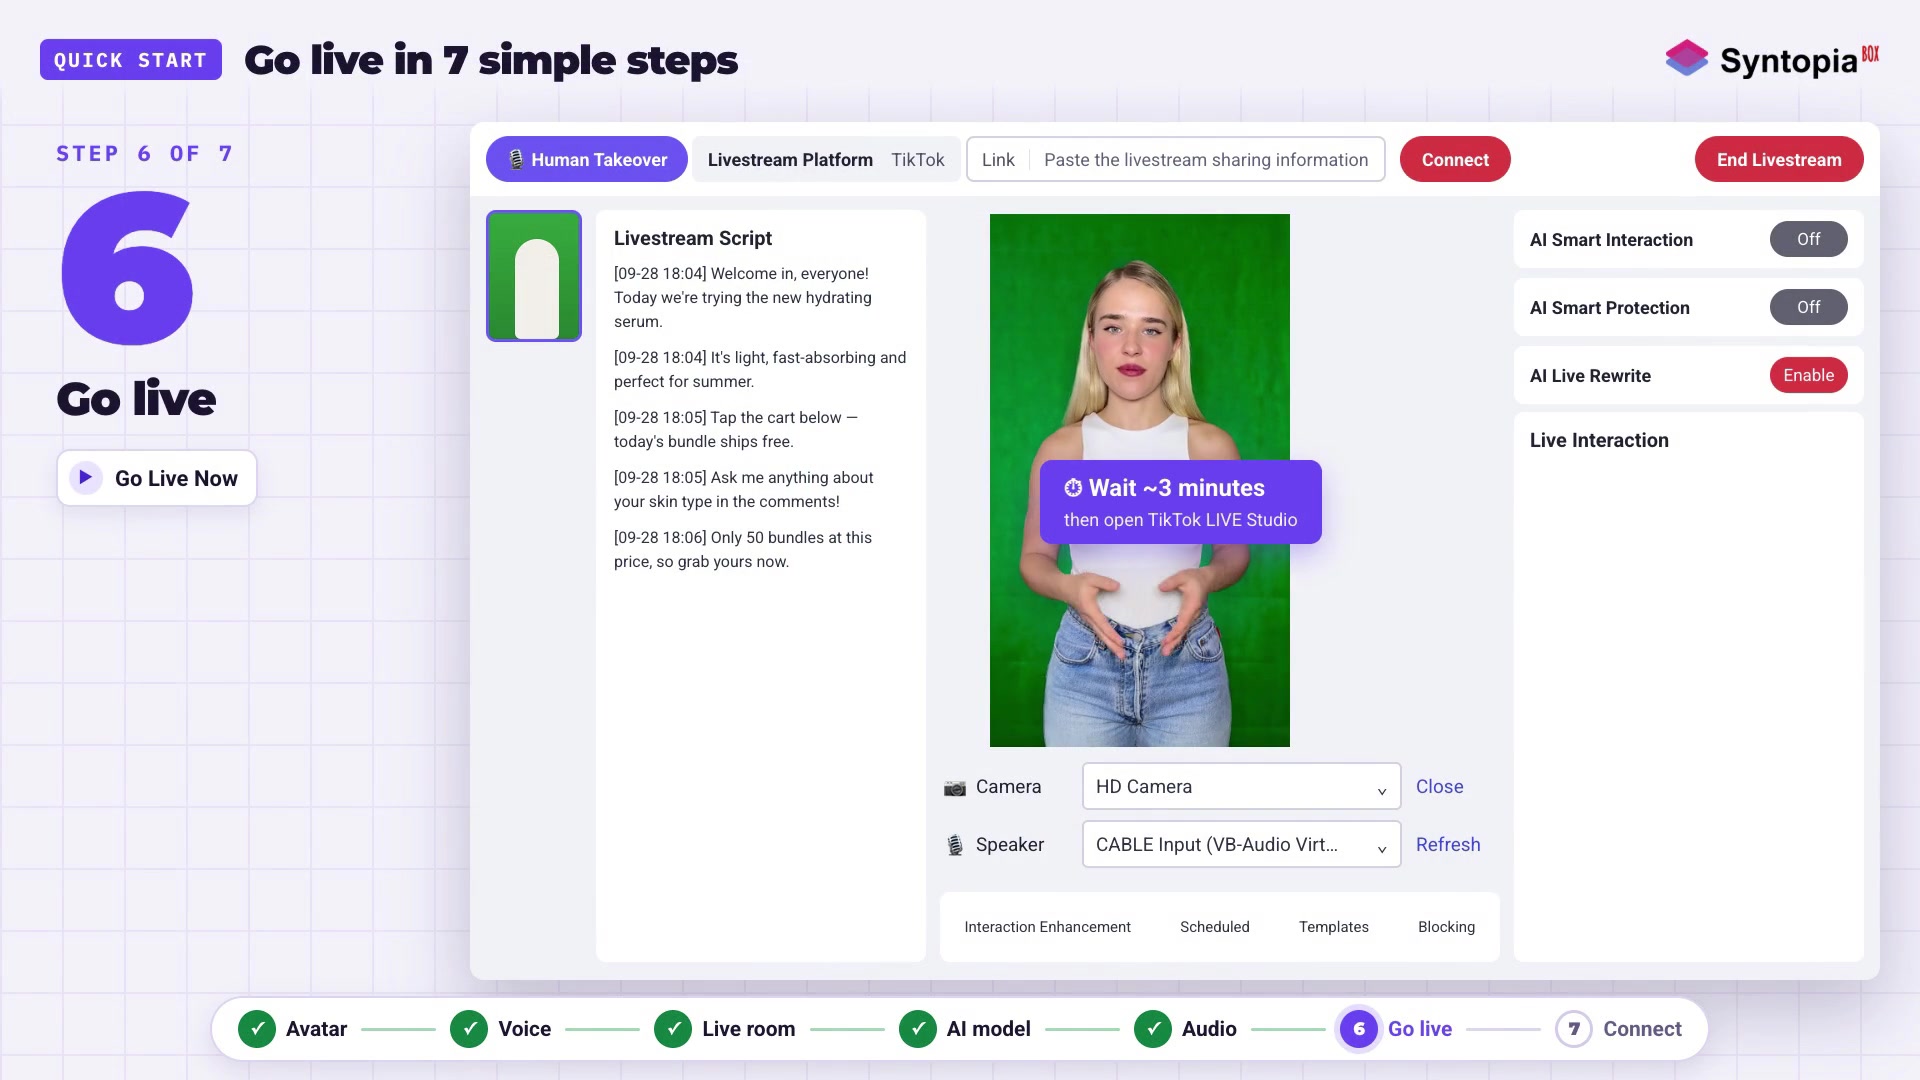

- The scene is part of each live room, so you set a background once per room and it stays consistent every stream.
- Choose a virtual backdrop for clean, scalable brand rooms, or a real-scene set for products that need context.
- Match the avatar’s brightness and colour temperature to the scene so the host does not look pasted on.
- Layer overlays — logo, offer banner, product cards — inside the platform-safe area and keep the screen uncluttered.
- Run the brand-safe check for clashing colour, lighting mismatch and any third-party brands before you go live.
Your background is the first thing a viewer reads before the avatar says a word. It tells them whether this is a polished brand channel or a rushed side hustle, and it frames every product you hold up. In Syntopia BOX the scene is part of the live room you build, so you set it once per room and it stays consistent every time that host goes live.
Scene options in Syntopia BOX
When you build a live room, the scene is the canvas behind your trained avatar. You have two broad choices: a virtual background that BOX composites behind the host, or a real-scene look where the avatar was trained against a physical set you actually filmed. Each room keeps its own scene, so a beauty room and an electronics room can look completely different while sharing the same software.
- Open the room’s scene settings. From the live room you are building, go to the scene or background panel.
- Pick the scene type. Choose a virtual backdrop or a real-scene set, depending on the product (see below).
- Preview before you commit. BOX shows the avatar against the scene so you can judge the composite before going live.
Virtual vs real-scene backgrounds
The right choice depends on what you sell and how much you want the setting to do.
| Virtual background | Real-scene set | |
|---|---|---|
| Best for | Clean, brand-colour backdrops; fast setup; many rooms that must look tidy | Products that need context — kitchenware in a kitchen, furniture in a room |
| Effort | Low — pick a backdrop | Higher — you film the avatar in the real setting during training |
| Consistency | Identical every stream | Authentic, “in use” feel |
If you sell physical products that buyers struggle to picture at home, a real-scene set earns its keep. If you run many rooms and need them all to look on-brand without a studio, a clean virtual backdrop is faster and scales better.
Matching the scene to your product
A mismatched background quietly costs you sales. Match three things: the colour (keep it calm so the product pops, not competing with it), the context (a setting that makes sense for the category), and the brand (your palette and logo rather than a stock scene that could belong to anyone). For a fashion room, keep it minimal so outfits read clearly; for home and kitchen, a lived-in set helps buyers imagine the product in their own space.
Lighting the avatar to the scene
The single biggest giveaway of a cheap composite is light that does not match: a brightly lit avatar on a dim background, or vice versa. Because your avatar’s look is baked in during training, the fix starts there — film training footage with soft, even light, as the avatar creation guide describes. Then, in the room, choose a scene whose brightness and colour temperature are close to the light the avatar was filmed in. When they match, the host looks like it is really standing in the scene.
Adding overlays and lower-thirds
Overlays are what turn a talking head into a shop. On top of the scene you can layer lower-thirds (the host’s name, the current offer), product cards that pin the item being discussed, and promotional banners. Keep them inside the safe area so platforms do not crop them, and keep the count low — one offer banner and one product card at a time reads far better than a cluttered screen. Product cards get their own full tutorial: see how to add product cards to your AI live stream.
Brand-safe scene checklist
- Background colour is calm and does not clash with your products.
- Avatar brightness and colour temperature match the scene.
- Logo and offer overlays sit inside the platform-safe area.
- No copyrighted art, music posters or third-party brands visible in a real set.
- The same scene is applied to every room that should share the look.
Common mistakes
The three that recur most: a background busier than the product, so viewers do not know where to look; a lighting mismatch that makes the composite obvious; and overlays stacked so densely that the product cards get lost. Fix those and even a simple virtual backdrop looks professional. If you plan to feed a remote camera into the scene, set that up with the RTMP streaming setup first, then return to the scene panel. For the full room build, the complete Syntopia BOX guide walks the end-to-end flow, and the AI live selling pillar covers the strategy around it.
Step-by-step recap
Frequently asked questions
Can I use a virtual background instead of a real set in Syntopia BOX?
Yes. Syntopia BOX lets you composite your avatar against a virtual background or use a real-scene look that the avatar was trained against. Virtual backdrops are faster to set up and keep many rooms looking consistent; real-scene sets suit products that need context, like kitchenware or furniture.
How do I stop my AI host looking pasted onto the background?
Match the light. The most common giveaway is a brightly lit avatar on a dim scene. Film your training footage with soft, even light, then choose a scene whose brightness and colour temperature are close to it. When the two match, the host looks like it is standing in the scene.
Can I add product cards and offer banners to the scene?
Yes. On top of the background you can layer lower-thirds, offer banners and product cards. Keep them inside the platform-safe area so they are not cropped, and show only one offer and one product card at a time so the screen stays readable. See our dedicated product-cards tutorial for the full setup.
Does each live room keep its own scene?
Yes. The scene is part of the live room you build, so each room keeps its own background, lighting match and overlays. That lets a beauty room and an electronics room look completely different while running on the same Syntopia BOX install.